How to light a bulb with a battery
1. What we will do
In this lesson, we will build the simplest electrical circuit — we will connect a light bulb to a battery.
This is a basic experiment from which learning electronics begins.
2. What you need (components)
🔋 Battery (AAA type)
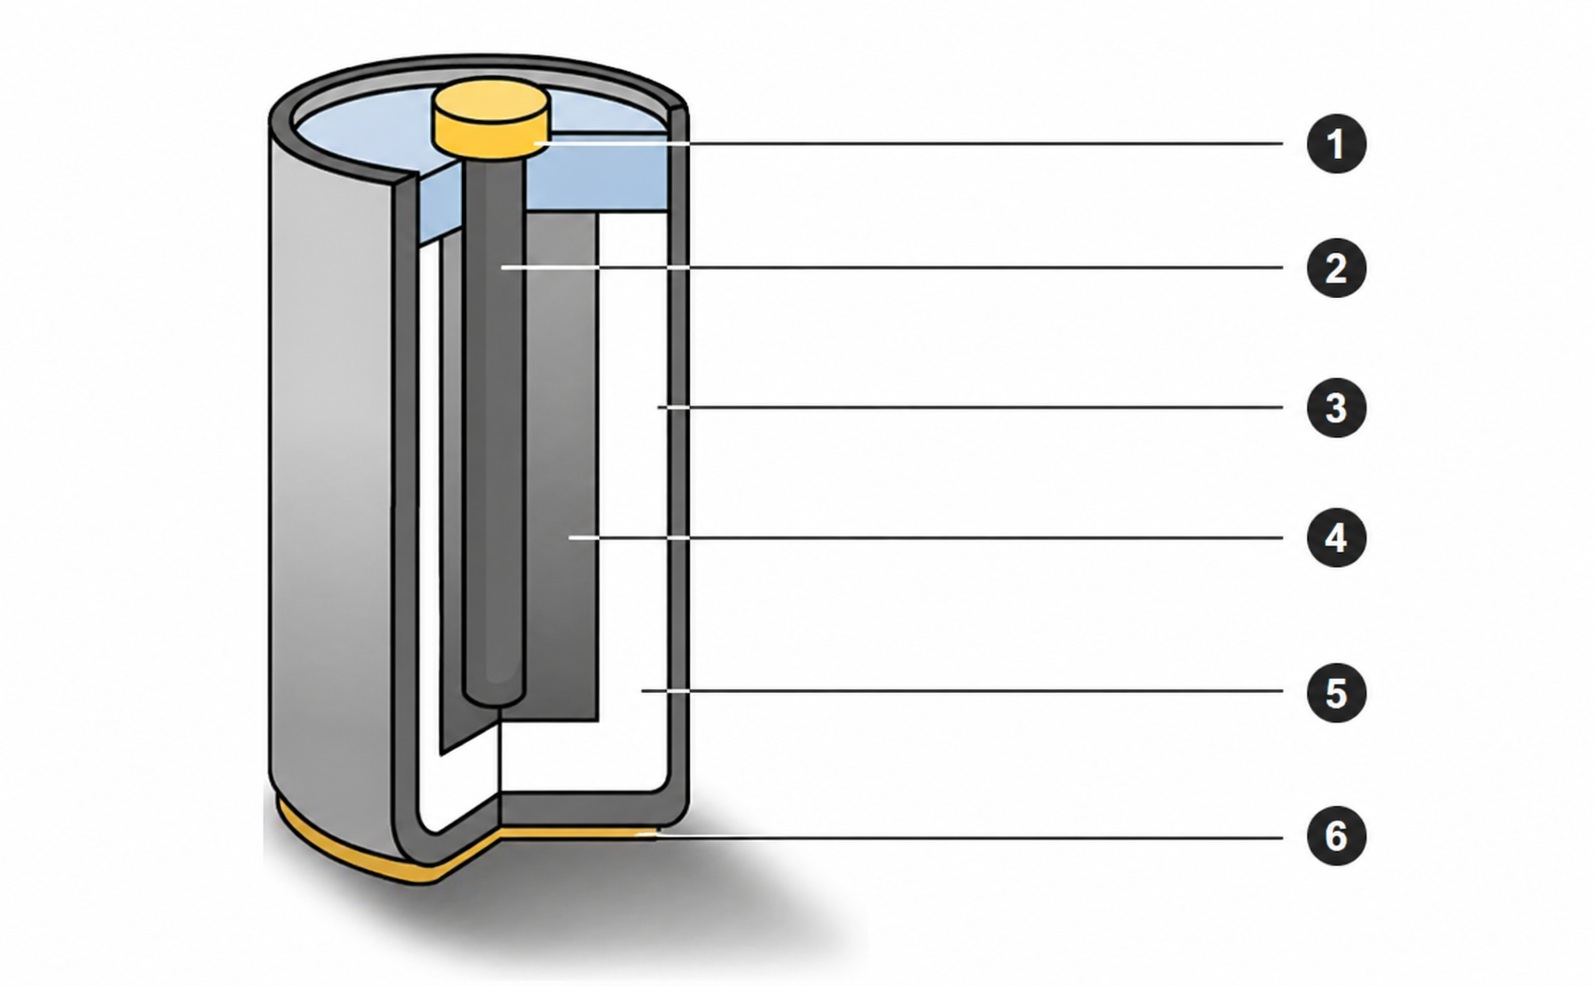
1 – metal electrode (+)
2 – carbon rod
3 – zinc container
4 – manganese dioxide
5 – ammonium chloride paste
6 – metal base
· Voltage: 1.5 V
· In circuit diagrams it is represented as:
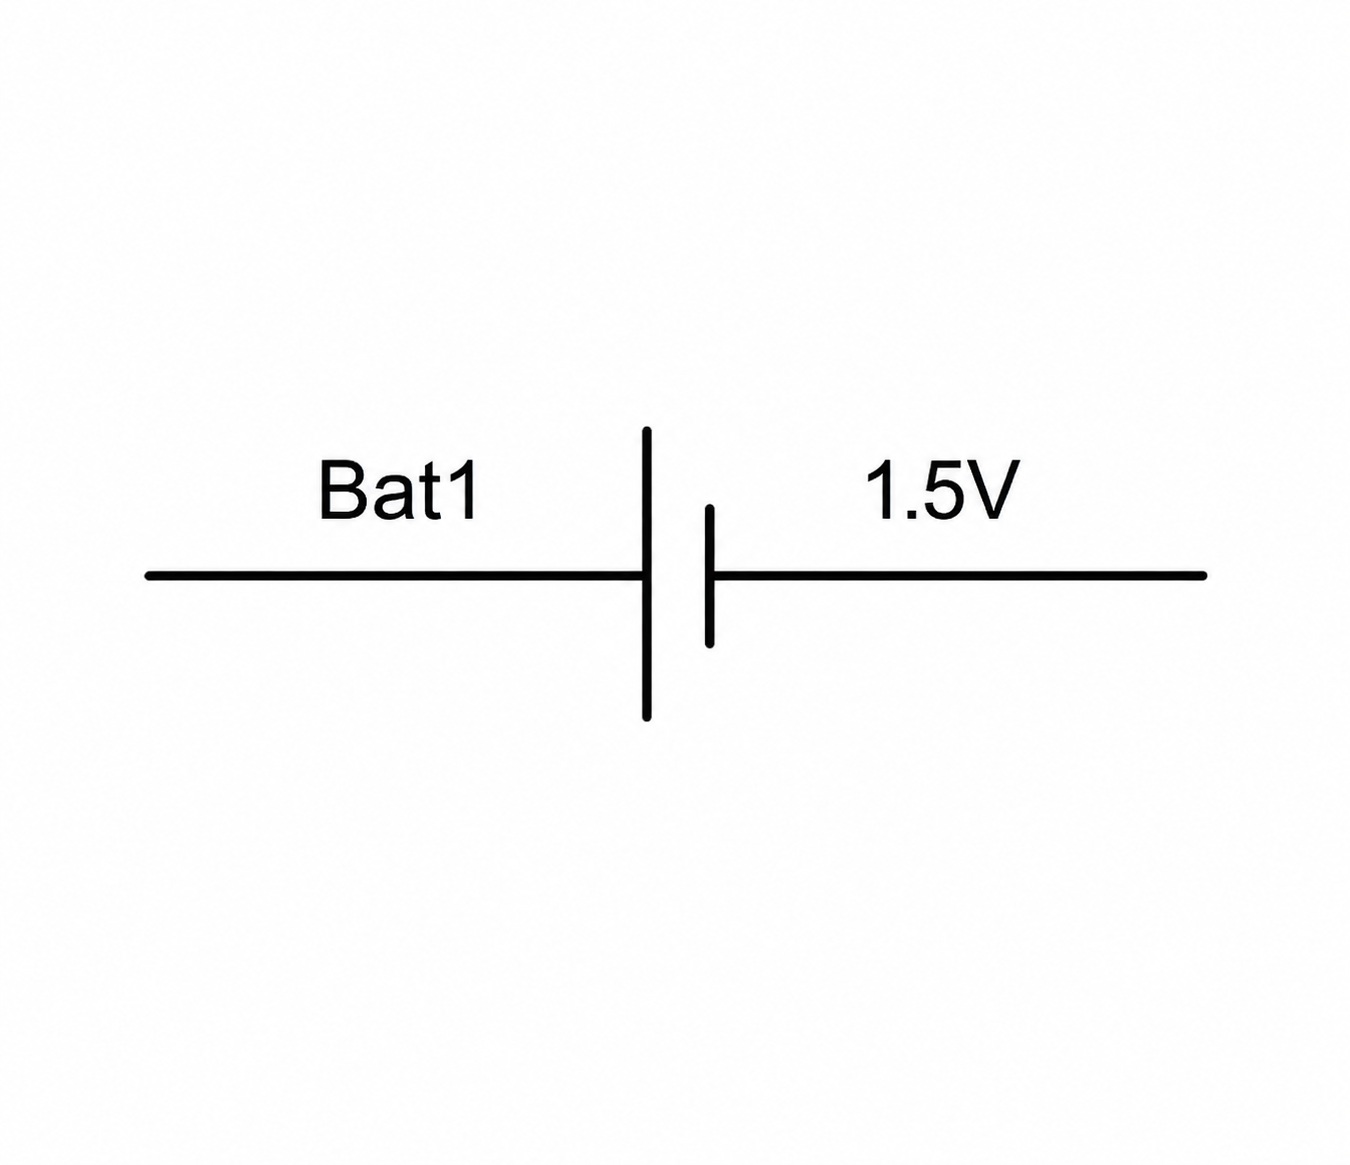
Inside the battery, chemical reactions take place that create free electrons.
When we close the circuit, these electrons start moving through the conductor — this is electric current.
💡 Light bulb (1.5 V)
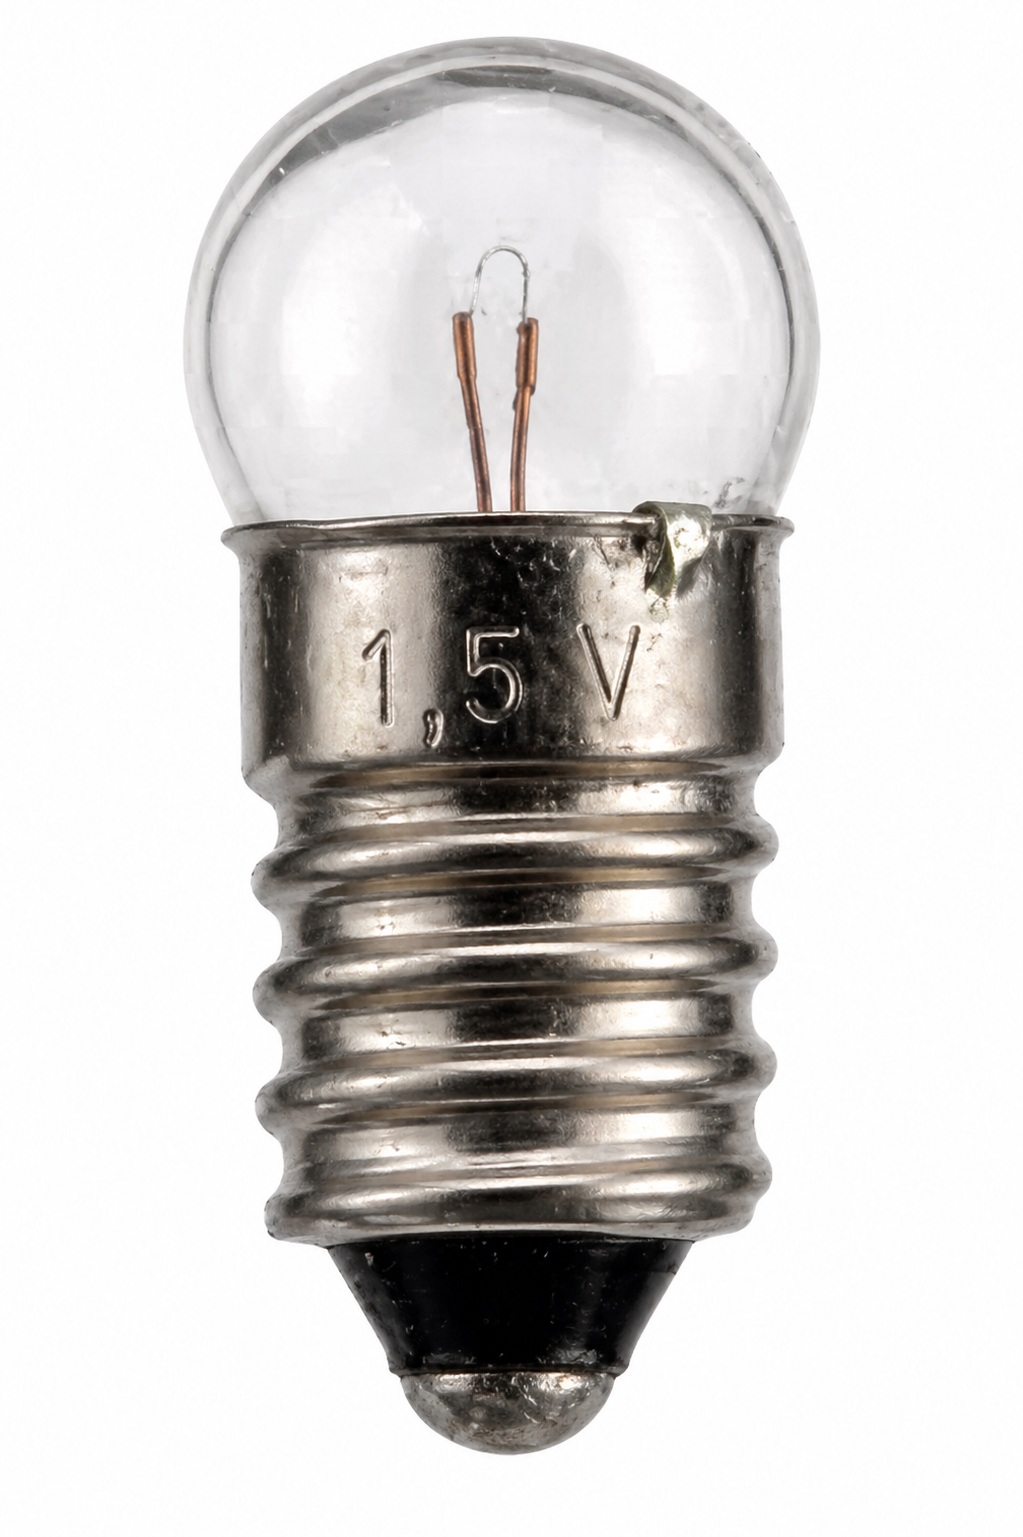
In circuit diagrams, it is represented as a circle with a cross inside.

A light bulb consists of:
· a glass bulb (usually with vacuum or gas inside)
· a filament (most often made of tungsten)
· contacts
The central contact and the metal base are the two terminals of the bulb.
In a regular incandescent bulb, polarity does not matter — it will work regardless of how it is connected.
However, it is important to know that in some devices (for example LED lamps), polarity does matter, and the central contact is usually used as “+”.
🔌 Conductor
In circuit diagrams, a wire is represented as a line.

· if lines simply cross → there is no connection
· if there is a dot → the wires are connected
Conductors can be:
· copper
· aluminum
· steel
And they can be:
· single-core
· multi-core
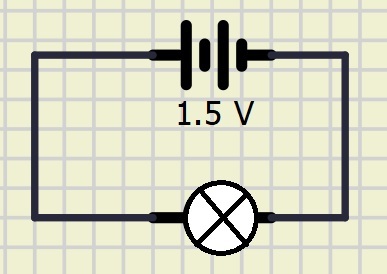
3. Circuit
The simplest circuit looks like this:
4. Connection
There are several ways to connect a bulb to a battery:
· solder the wires
· use a battery holder and a bulb socket
· twist the wires together
But since this is the simplest experiment, you can do it even easier — without soldering or additional components.
Simple method:
- Take one wire
- Place one end on the negative terminal of the battery
- Place the central contact of the bulb (one of its terminals) on the positive terminal of the battery
- Touch the other end of the wire to the metal base of the bulb
👉 At this moment, the circuit will close and the bulb should light up

Important:
· keep the contacts firm
· avoid accidental disconnections
· do not press the bulb too hard
This method allows you to quickly understand how a circuit works without using any tools.
5. Result
If everything is done correctly — the bulb will light up 💡
If it does not light up:
· check the connections
· make sure there is proper contact
· check the battery
👉 In most cases, the problem is a poor connection
6. Explanation
When we connect the battery to the bulb, we create a closed circuit.
· electrons start moving through the conductor
· they pass through the filament of the bulb
· the filament heats up to a high temperature
· it begins to emit light
👉 That is why the bulb lights up
7. Common mistakes
❌ The bulb lights up “by itself”
✔ In reality, it glows because the filament heats up
❌ It does not matter if the circuit is closed
✔ Without a closed circuit, current will not flow
❌ Polarity matters
✔ For a bulb — it does not (but for other components it will)
Conclusion
You have just built your first electrical circuit.
This is a very simple but extremely important step:
👉 now you understand how electricity makes real devices work
What’s next
In the next lesson, we will learn about the resistor — a component that allows you to control current and protect elements in a circuit